
こちら英語記事です。日本語記事はこちら≫チョコプレートの作り方誕生日に文字を簡単きれいに手作りするコツ!
I wanted to make a chocolate plate by hand, but I didn’t know how to make it.
I decided to make a chocolate plate for my birthday, which I found to be easy and cute.
I wanted to make my own chocolate plate, but I didn’t know how to make it.
I found some cute and easy ones in my research, so I decided to make one for reference.
I’ve never done this before, but I see that there are a lot of people who make them by hand.
I’m going to show you how to make a chocolate plate.
How to Make a Chocolate PlateHomemade letters for birthdays
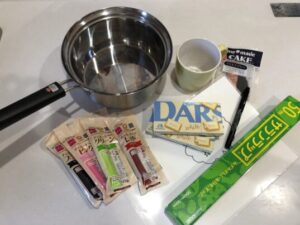
What to prepare
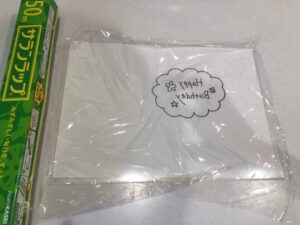
① Drafts (drawn with magic pen on paper or printed)
②Clear file
③Plastic wrap or cooking sheet
④ A container for heating water
⑤Bamboo skewer and toothpick
⑥Chocolate board (black or white as you like)
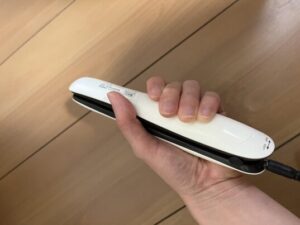
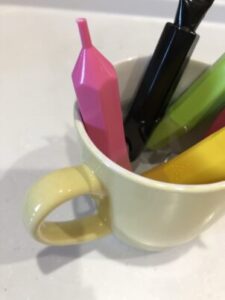
⑦Chocolate pen
how to make
The letters should be traced on the reverse side.
If you want to print it out, please use the reversed version.


(1) Place the rough sketch in a clear file and stretch out the plastic wrap to attach it.
If you use a cookie sheet, use cellophane tape to hold the edges together.
(2) Melt the chocolate of the color you want to add the letters with hot water.
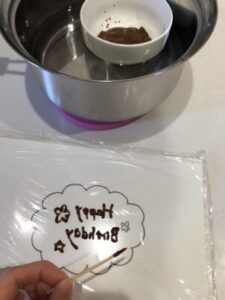
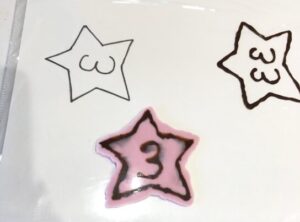
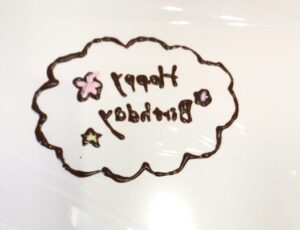
(3) Dip the tip of a bamboo skewer in melted chocolate and draw the letters on the plastic wrap.
(4) Once the letters are drawn, refrigerate them.
(4) Once the letters are drawn, put them in the refrigerator to chill. It is recommended to put them on a cooler to harden.

5) Paint the outside of the letters with your favorite melted chocolate.
(5) Paint the outside of the letters with melted chocolate of your choice, making sure it is thick enough to make the letters plump.
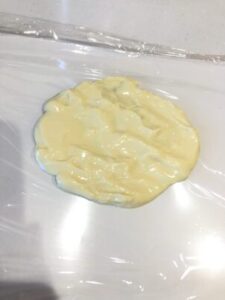
Use a spoon to coat the entire surface.
Then chill in the refrigerator until firm, then slowly peel off the plastic wrap and you’re done!
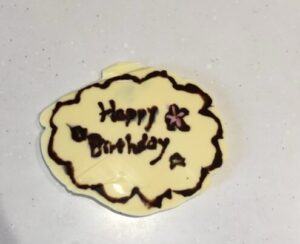
Hmm?
The text is a little blurry, but…
It’s my first time.
It’s good.
After this, you can add toppings as you like.
You can also use the same method to make names, birthdays, etc.

Name.
Age, etc.
You can make a chocolate plate with any letters you want.
If you put other colors on the chocolate frame before it has cooled and hardened, it will blot.
Again, the chocolate I made was a little blotchy.
It seems that I didn’t allow enough time for the chocolate to cool between writing the letters and putting on the back color.
Tips on how to make a chocolate plate and color it.
(1) -> (4)
After this, you can color it with your favorite color chocolate pen.
You can draw directly with a chocolate pen, but for the small parts, you can put a little bit of the pen on another empty space on the plastic wrap and draw with a bamboo skewer in the same way you wrote the letters.
When you have finished coloring, let it cool again.
After that, do the same process as in (5).
When you want to color the chocolate, make sure that the chocolate of the previous color has cooled and hardened, or it will bleed.
After that, if the temperature of the chocolate to be applied later is too high, it will bleed.
It’s very difficult.
How to Make a Chocolate PlateEven though I think I’m practicing the tips that say it’s easy to make a chocolate plate, I can’t get it right. How to make a chocolate plate
I drew the letters first, then spooned the chocolate from behind to color the background, but
But the letters still bled.
It seems that if the temperature is too high, the letters will blur, but it’s very difficult to find the right temperature.
Is it too difficult for beginners?
So, I found a better way to paint the background.
I’ve found a way to make it more beautiful.
The background is painted using a chocolate pen.
Instead of using a bamboo skewer or a spoon, I used a chocolate pen and squeezed it to apply the paint.
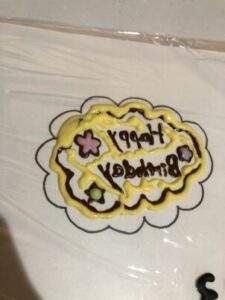
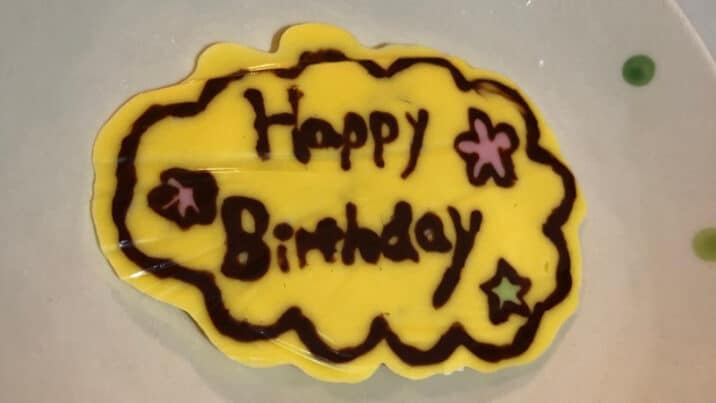
I made it look like this, and after this I painted everything so that the letters would be covered up.
I ran out of white chocolate, so I used yellow chocolate pen.
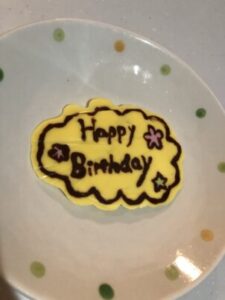
I think this one turned out beautifully.
If you are a beginner in making chocolate plates, I recommend painting the background with a chocolate pen.
How to make a chocolate plate easily and beautifully
I have shown you how to write the letters first on the plastic wrap and then put more melted chocolate on top of it, but there is also an easier and more beautiful way to make the plate part.
What to prepare
Silicone molds
You can get them at 100-yen stores.
Chocolate
how to make
Put the broken chocolate in a silicon mold.
Put the mold in a heatproof dish and heat it at 500W for 1 minute and 30 seconds.
Of course, you can also use the melted chocolate from a hot water bath.
I think it’s easier to use the melted chocolate from the water heater.
Toss the dish to shape it.
Cool in the refrigerator.
When it hardens, take it out of the silicon container.
The chocolate plate is now complete!
After that, you can write or decorate it with chocolate pens as you like.
This method involves making a chocolate plate without letters first, and then adding letters and messages later with chocolate pens.
100-yen chocolate pens are useful for the method described in the How to Make a Chocolate Plate section.
If you want to put a letter or message on a chocolate plate, 100-yen choco pens are useful.
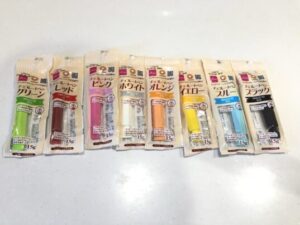
At the supermarket, you can find white, black, and pink chocolate pens, but I couldn’t find any other kind of chocolate pens.
At Daiso, there are so many colors to choose from.
I heard that there is a way to add food coloring to chocolate, but it seems to be difficult to get a good color.
Summary of how to make a chocolate plate for a birthday cake
I want to make a handmade chocolate plate for my birthday.
If you want to make a chocolate plate with a message such as name, age, Happy Birthday, etc.
I’ve already told you how to do it beautifully and easily.
Draw on plastic wrap or a cookie sheet and let it cool.
How to make a chocolate plate easily using a silicon mold.
There are two ways to make a chocolate plate.
Making chocolate plates for birthdays
I hope you will give it a try.